How to Fix Water Leaking Around Auto Glass?

Time:2026-10-29 Author:Liam
0%

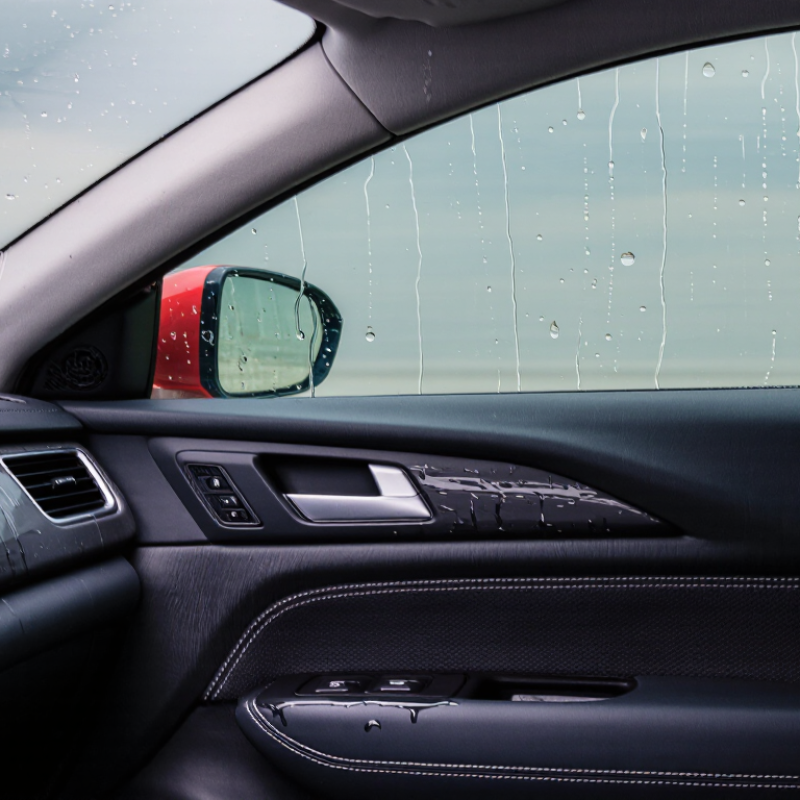
Water around a windshield can appear as a thin trail beneath the dashboard, a damp corner of carpet, or droplets running down the inside of a side window. These signs are easy to dismiss after one rainy drive. Don’t. Persistent moisture can damage trim, leave a musty odor, and point to a failed seal or installation defect. How to fix water leakage around auto glass starts with locating the entry point, not covering the visible stain.

Automotive glass installation educator Bob Beranek is a recognized industry expert. A non-verbatim summary of his installation-focused guidance is: “A reliable repair depends on finding the leak and restoring the glass seal correctly.” That distinction matters. Water may travel along a frame before appearing inside the cabin, so the wettest spot is not always the source. A careful inspection checks the glass perimeter, molding, corners, and nearby body seams. It also considers blocked drainage paths around doors or a sunroof.

Small clues help. Look for lifted trim, cracked adhesive, or water tracks after a controlled rinse. Avoid forcing tools under the molding or applying household sealant over the gap. Such quick fixes can hide damage and make proper repairs harder. The diagnosis is not always obvious; even a careful visual check may miss a leak that appears only under certain conditions.

The sections ahead explain practical leak checks, common causes, repair choices, and when a qualified auto-glass technician should inspect the vehicle. A dry cabin matters. So does a repair that lasts.
How to Fix Water Leaking Around Auto Glass?

Identify the Source of the Water Leak

Start by drying the cabin, then place a helper inside with a flashlight while water is applied gently outside. Test one area at a time: windshield edges, roof seams, sunroof drains, door seals, and the cowl below the windshield. Watch for the first bead, not the largest puddle. Water can travel along trim or wiring before it drips, so a wet floor may point far from the entry. The first clue can mislead.

Inspect the glass perimeter for gaps, lifted molding, cracked urethane, or rust near the body flange. The Auto Glass Safety Council’s ANSI/AGSC/AGRSS 005-2022 standard sets installation and adhesive-performance requirements; a leak at the bond line deserves assessment by a qualified glass technician. Check sunroof drains with a small, controlled pour and look for water exiting beneath the vehicle. Avoid high-pressure spraying, which can force water past seals that normally hold. Take photos and note where the first droplets appear. Small details matter. A damp headliner, musty smell, or water line on a pillar narrows the search, but none proves the source alone.

How to Fix Water Leaking Around Auto Glass?

Identify the Source of the Water Leak

Start at the highest suspected entry point and test one area at a time, moving downward. Water can travel from its entry point before appearing inside the vehicle. The numbers show a practical inspection sequence, not how frequently each source causes leaks. Inspect glass bonding and seals for gaps or damage; check sunroof drains where fitted.

Inspect the Glass, Seal, and Surrounding Trim

Start by drying the glass and nearby trim, then inspect the windshield or window in bright light. Look for chips, cracks, uneven gaps, or glass that seems loose. Pay close attention to the corners; small defects can be easy to miss. A leak may travel along the frame before dripping inside, so the wet spot is not always where water enters.

Examine the rubber seal for tears, flattened sections, dirt, or edges pulling away from the glass. Gently press along it. It should sit evenly, without obvious gaps. Check the surrounding trim for lifted sections or missing clips, but do not force it back into place. That can cause more damage.

A careful, low-pressure water test can help: have someone watch inside while you wet one small area at a time. Avoid directing a strong stream at the seal. This check is not perfect, and water can take time to appear.

If the glass moves, the seal is badly damaged, or the leak continues, have an auto-glass professional inspect the installation. A quick patch may hide the symptom, not fix the entry point.

Choose the Appropriate Repair Method

Water around auto glass does not always mean the glass seal has failed. Park on level ground and note where the first drops appear: near a windshield corner, along a door window, or above the headliner. A damp floor can also come from a blocked drain or a body seam. That matters. Before choosing a repair, dry the area and repeat a gentle water test while someone watches inside.

If water tracks along the glass edge, a technician can inspect the seal and surrounding metal for gaps, corrosion, or old repair material. A minor, accessible leak may allow targeted resealing, but adding sealant over dirt or failed adhesive often only hides the problem. If the windshield has shifted or its structural bond is damaged, proper removal and replacement may be needed. Not always obvious.

For a door window, the issue may be its weatherstrip or the inner water barrier, rather than the glass itself. A sunroof leak may point to a clogged drain; clearing it carefully is different from sealing the glass. Avoid high-pressure spraying, which can force water past intact seals. Ask the repair professional to identify the leak source before approving work, and follow the recommended adhesive curing time if glass is replaced. Some leaks take patience to trace.

Repair or Replace the Failed Seal

Water around the windshield does not always mean the glass is cracked. The urethane bond or an outer molding may have failed. Water can also enter through a blocked drain or a damaged body seam. A technician should trace the leak before applying sealant. A garden hose, used gently while someone checks inside, can help locate the entry point. Avoid high-pressure spray; it can push water past otherwise sound seals.

If the glass is intact and properly seated, a professional may be able to remove trim and repair the failed seal. But sealant smeared over the edge is rarely a lasting fix. If the windshield has shifted, the bonding surface is contaminated, or the glass is cracked, removal and replacement may be safer. NHTSA’s Federal Motor Vehicle Safety Standard No. 212 includes a requirement for windshield retention of at least 50 percent of the perimeter in specified crash tests. That figure shows why the bond matters beyond keeping rain out. Ask the installer to inspect the pinch weld, use the correct adhesive, and follow its stated safe-drive-away time. Don’t rush that part. A small leak can become a larger problem, and a quick patch can hide the real cause.

How to Fix Water Leaking Around Auto Glass? - Repair or Replace the Failed Seal

Observed Symptom Likely Cause How to Check Recommended Action Repair or Replace?
Water appears at the top or side edge of the windshield during rain. A gap, damaged bond, or installation issue in the windshield’s urethane adhesive. Have a technician inspect the glass perimeter and check for loose trim or visible gaps. A controlled water test can help locate the entry point. Ask an auto-glass professional to assess the bonded area. Do not cover the edge with household silicone, which can interfere with proper repair or future glass removal. A localized bond repair may be possible if the glass and surrounding structure are sound. Replacement may be needed if the bond is broadly compromised or the glass is damaged.
Water drips from a door window or collects at the bottom of the door. Worn outer belt weatherstrip, misaligned window glass, or blocked door drain holes. Some water normally passes inside the door and exits through drains. Check whether the door drains are clear and whether the window sits evenly against its seals. Look for a torn, hardened, or detached weatherstrip. Clear blocked drains and replace damaged weatherstripping. Have the window regulator or glass alignment checked if the window does not close evenly. Usually repair or replace the affected seal or adjust the window; the glass itself generally does not need replacement unless cracked or otherwise damaged.
Water leaks around a rear windshield or fixed side glass. A deteriorated or separated adhesive bond, damaged molding, or corrosion near the glass opening. Inspect the perimeter for lifted molding, rust, or signs of previous glass work. A professional leak test can distinguish a glass leak from a body-panel leak. Have the glass removed if necessary so the bonding surface and any corrosion can be properly prepared before resealing. Resealing may be suitable when the glass is intact and the opening is repairable. Replace damaged glass; repair corrosion before installing glass.
A sunroof or panoramic roof leaks near the glass edge or headliner. Blocked roof drains, a damaged perimeter seal, or a misaligned panel. Many sunroofs use drains and are not designed to rely on the perimeter seal alone. Check the roof drains and panel alignment according to the vehicle’s service procedure. Avoid forcing wire or high-pressure air into drain tubes. Clear or service the drains and inspect the seal and panel adjustment. Use a qualified technician if the leak persists or trim must be removed. Repair the drain, seal, or alignment issue first. Replace the glass only if it is cracked, damaged, or cannot seal correctly after proper adjustment.
Musty odor, damp carpet, or fogging after rain, but no visible drip at the glass. A concealed leak from glass bonding, door seals, roof drains, body seams, or another opening. Dry the interior and have the leak traced with a systematic water test. Check nearby trim and carpet for the highest or freshest wet area. Identify and repair the actual entry point, then dry the carpet and padding to reduce mold and electrical-circuit risks. Depends on the source: repair the relevant seal, drain, or bond. Glass replacement is appropriate only when the glass or its installation requires it.
Leak started soon after windshield replacement. Possible installation defect, incomplete bonding, disturbed trim, or an unrelated nearby leak. Contact the installer and request an inspection. Note when the leak occurs and where water first appears; do not pull trim or apply sealant yourself. Ask the installer to diagnose the leak and correct any workmanship issue using the vehicle-appropriate procedure and materials. The installer may be able to correct the bond or trim. Reinstallation or replacement depends on inspection findings and glass condition.

Safety note: A windshield contributes to vehicle structure and airbag support. If it is loose, cracked, or leaking through the bonded edge, arrange a professional inspection promptly. Follow the vehicle and adhesive manufacturer’s safe-drive-away time after any glass installation.

Test the Area to Confirm the Leak Is Fixed

After the sealant has cured according to its instructions, dry the glass, surrounding trim, and nearby interior. Ask someone to sit inside with a flashlight and a dry paper towel. Keep it gentle. Use a slow stream of water, beginning at the lower edge of the glass. Move gradually along each side and across the top, testing one section at a time.

Watch for fresh droplets or dampness around the headliner, dashboard, and pillars. Water can travel along the frame before appearing inside, so the first wet spot may not be the entry point. Blot the area rather than rubbing it. A small piece of tissue can reveal moisture that is hard to see. Avoid using a high-pressure nozzle, which may force water past a sound seal and confuse the test.

If the interior stays dry, let the area dry completely and repeat the test later. One dry check is reassuring, but it is not perfect; a leak may appear only during longer rain or when the vehicle is parked at an angle. If moisture returns, note where it appears and have an auto-glass professional inspect the seal and installation. Don’t keep adding sealant without finding the leak path.

FAQS

How can I find where water enters the cabin?

Dry the cabin, then ask someone to watch inside with a flashlight. Apply a gentle stream outside, testing one area at a time. Watch for the first bead of water, not the largest puddle.

Which areas should I check for a leak?

Inspect windshield edges, roof seams, sunroof drains, door seals, and the cowl below the windshield. Look for damp headliner fabric, musty smells, or water marks on pillars. Small details matter.

Does a wet floor mean the windshield seal has failed?

Not necessarily. Water may come from a blocked drain, door weatherstrip, inner water barrier, or body seam. It can travel along trim before dripping, so the wet spot may be far from the entry.

How should I test a suspected leak safely?

Use a slow stream of water and test one section at a time. Avoid high-pressure spraying; it can push water past seals that are normally sound. Keep it gentle.

When should a glass professional inspect the windshield?

Ask for an inspection if water tracks along the glass edge, the molding has lifted, or the surrounding metal shows rust. A shifted windshield or damaged structural bond may need removal and replacement.

Can I simply add sealant over a leak?

Not without identifying the source. Targeted resealing may work for a minor, accessible leak, but sealant over dirt or failed adhesive can hide the problem. Not always obvious.

How can I confirm the repair worked?

Follow the sealant’s curing instructions, then dry the glass, trim, and nearby interior. Test slowly while someone inside checks the headliner, dashboard, and pillars with a flashlight or dry tissue.

What if the cabin stays dry during the first test?

Let everything dry completely and test again later. A leak may appear during longer rain or when the vehicle is parked at an angle. One dry check is reassuring, but not perfect.

What should I do if moisture returns?

Note where the first dampness appears and have a glass professional inspect the leak path. Avoid adding more sealant without finding the source. The first clue can mislead.

Conclusion

How to fix water leakage around auto glass starts with identifying exactly where the water enters. Check for damp spots after rain or washing, then inspect the glass edges, rubber seal, and surrounding trim for gaps, cracks, looseness, or wear. Water may travel along the frame, so the visible drip is not always directly below the source.

Once the damaged area is located, choose a repair that suits its condition. A small gap may be addressed by carefully reseating trim or applying an appropriate automotive sealant, while a brittle, torn, or badly detached seal may need replacement. After the repair, allow any sealant to cure as directed, then test the area with a gentle stream of water. Check inside the vehicle for moisture and repeat the inspection if needed to confirm the leak has stopped.

Liam

Liam

Liam is a dedicated marketing professional with a profound expertise in the industry, where he excels at highlighting the unique advantages of our core products. With a keen understanding of market trends and consumer needs, Liam frequently updates our company’s professional blog, providing......